Building a new home is a major project, and one of the first questions homeowners ask is:
How long does it take to build a house?
There isn’t one timeline that applies to every project. The construction schedule depends on the size and complexity of the home, site conditions, permitting, material availability, weather, contractor coordination, and the number of custom features involved.
A straightforward home can move through construction relatively efficiently, while a highly customized home or difficult building site can require considerably more time.
Understanding the major stages of construction makes the process much easier to plan.
The Typical Stages of Home Construction
Although every project is different, new home construction generally follows a sequence similar to this:
- Planning and design
- Permits and approvals
- Site preparation
- Foundation
- Framing
- Roofing and exterior enclosure
- Plumbing, electrical, and HVAC
- Insulation and drywall
- Interior finishes
- Exterior finishes and landscaping
- Final inspections
- Punch list and completion
Some stages overlap, but each depends on previous work being completed correctly.
Stage 1: Planning and Design
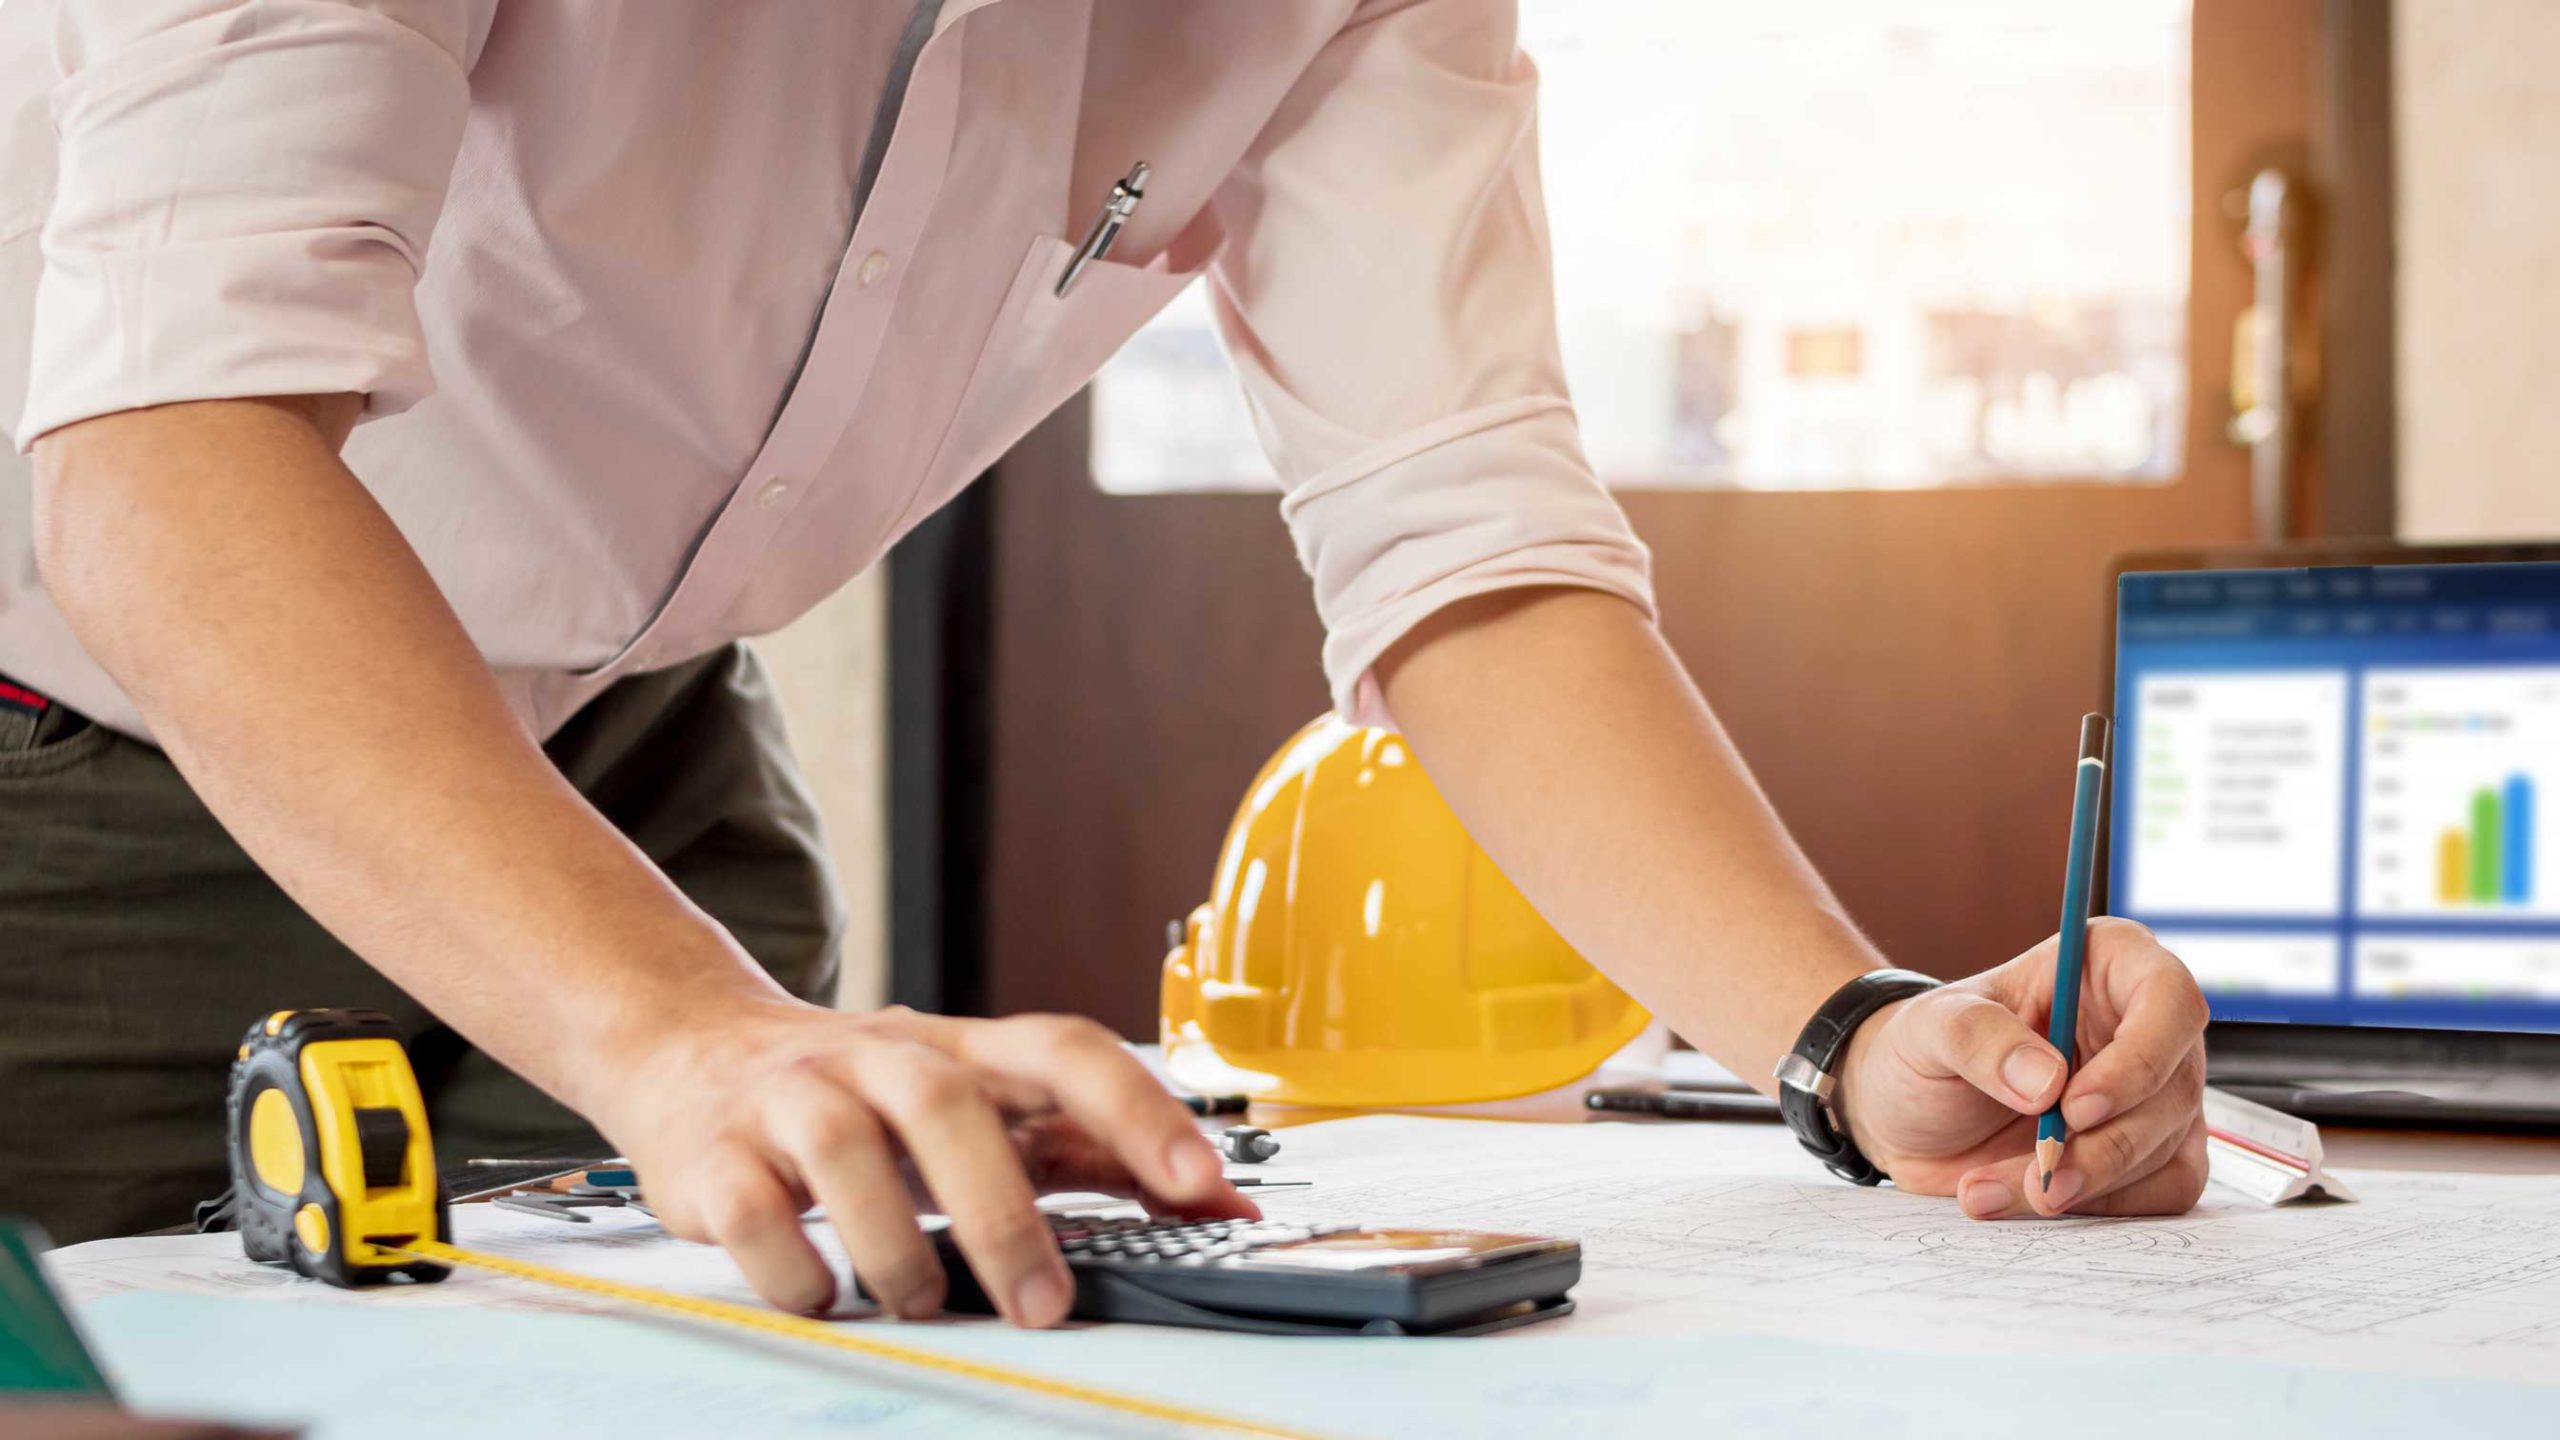
Before construction begins, the project needs a clear plan.
This can include:
- Architectural design
- Structural engineering
- Site planning
- Material selections
- Construction estimates
- Contractor selection
- Budget development
This stage can take weeks or longer depending on how complex the project is.
It is also one of the most important stages because decisions made here influence almost everything that follows.
Changing the location of a wall on a drawing is much easier than changing it after the wall has been framed.
Stage 2: Permits and Approvals
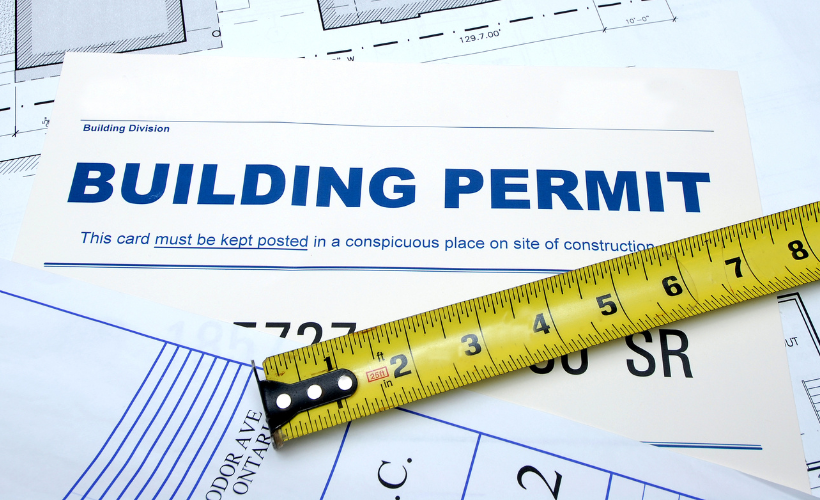
Once the plans are developed, the project may need to go through the appropriate permitting and approval process.
Requirements vary depending on location and project type.
The process can involve:
- Building permits
- Site plans
- Structural plans
- Electrical requirements
- Plumbing requirements
- Energy requirements
- Inspections
Permit timing can vary significantly, so it should be incorporated into the overall schedule rather than treated as an afterthought.
Stage 3: Site Preparation
Once the project is approved and ready to begin, the site can be prepared.
This may involve:
- Clearing
- Demolition
- Excavation
- Grading
- Utility preparation
- Drainage
- Erosion control
- Access preparation
Site conditions can have a major impact on the schedule.
A flat, accessible site with favorable soil conditions may require relatively straightforward preparation.
A steep property, difficult soil, restricted access, or extensive drainage requirements can add time and complexity.
Stage 4: Foundation
The foundation establishes the structural base of the house.
Depending on the design and site, this may involve:
- Excavation
- Footings
- Reinforcement
- Concrete
- Foundation walls
- Waterproofing
- Drainage
- Backfilling
The foundation needs to be completed correctly before framing can begin.
Inspections may also be required at various points in the process.
Stage 5: Framing
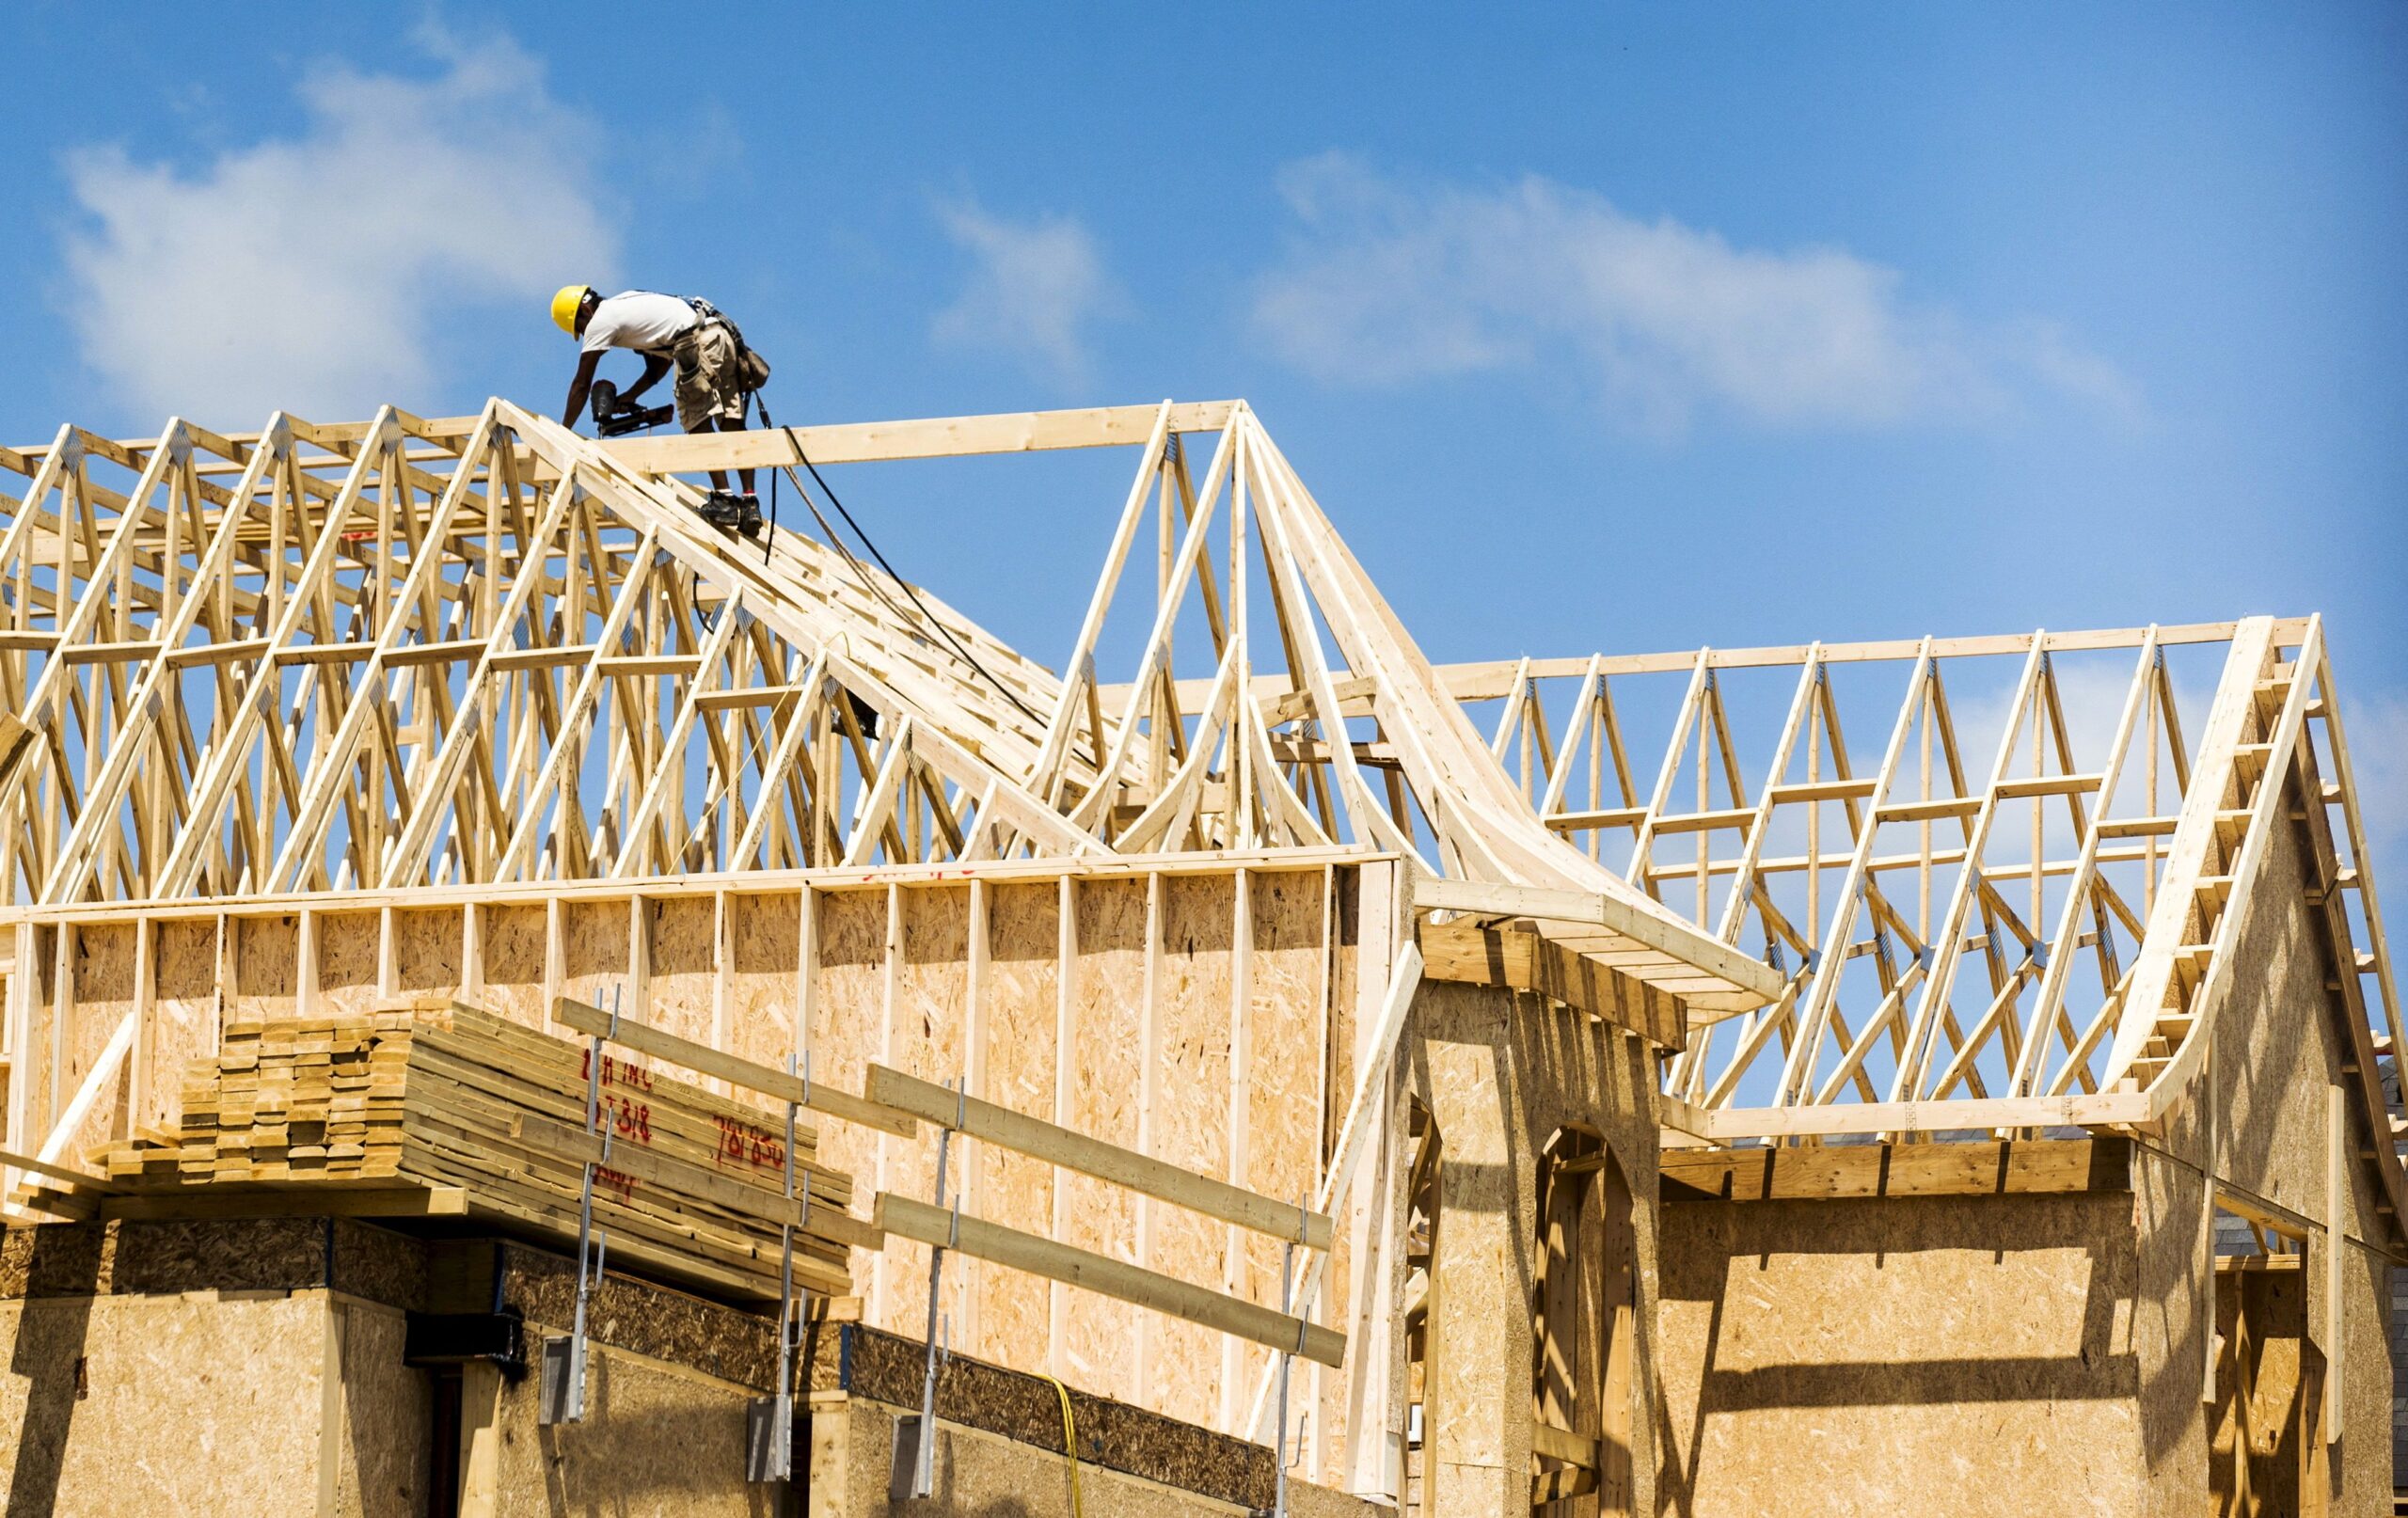
Framing is when the house begins to look like a house.
Walls, floors, roof structures, and other structural components are installed.
This is often one of the most visually dramatic stages because the building’s shape becomes apparent.
Framing speed depends on the size and complexity of the house, material availability, crew size, weather, and design.
Complex rooflines, large openings, unusual architectural features, and custom structural elements can require additional time.
Stage 6: Roofing, Windows, and Exterior Enclosure
After framing, the building needs to be protected from the elements.
This can include:
- Roofing
- Exterior sheathing
- Weather barriers
- Windows
- Exterior doors
- Siding or cladding
Once the structure is enclosed, interior trades can work more efficiently and the project becomes less vulnerable to weather.
Stage 7: Plumbing, Electrical, and HVAC
Mechanical systems are installed within the walls, floors, ceilings, and other areas of the structure.
These systems may include:
- Plumbing
- Electrical wiring
- HVAC ductwork
- Heating equipment
- Cooling equipment
- Ventilation
- Water heating
- Specialty systems
This stage requires close coordination between different trades.
For example, plumbing, electrical, and ductwork may all need to pass through the same areas of the building.
Good scheduling and communication help prevent conflicts.
Stage 8: Insulation and Drywall
Once the rough mechanical work has been completed and approved, insulation can be installed.
Drywall follows in many projects.
This is another major visual milestone.
The unfinished structure begins to look like an actual home as walls and ceilings become defined.
Stage 9: Interior Finishes
The project then moves into the finishing stages.
Depending on the specifications, this may include:
- Flooring
- Cabinets
- Countertops
- Tile
- Interior doors
- Trim
- Painting
- Lighting
- Plumbing fixtures
- Appliances
This stage can be surprisingly time-consuming because many individual products and trades must be coordinated.
Custom cabinetry, specialty tile, imported materials, or custom fixtures can affect the schedule.
Stage 10: Exterior Work
Exterior work may continue alongside the interior finishing process.
Depending on the project, this can include:
- Siding
- Masonry
- Decks
- Patios
- Driveways
- Walkways
- Fencing
- Drainage
- Landscaping
Weather can have a significant influence on outdoor work.
Stage 11: Final Inspections
Before the home can be occupied or formally completed, required inspections must be completed.
The exact requirements depend on the location and project.
Your contractor should coordinate the appropriate inspections and address any issues identified by inspectors.
Stage 12: Punch List and Completion
Near the end of the project, the homeowner and contractor can review the completed house and identify remaining items.
A punch list might include:
- Paint touch-ups
- Hardware adjustments
- Minor finish corrections
- Fixture adjustments
- Door alignment
- Cleaning
- Landscaping corrections
Once the remaining work is addressed, the project can move toward final completion and handover.
What Can Delay a Home Construction Project?
Even a carefully planned construction schedule can change.
Common causes of delays include:
Weather
Heavy rain, extreme temperatures, snow, or other severe conditions can interfere with certain types of construction.
Material Delays
Special-order products can have long lead times.
This is particularly important for windows, doors, cabinetry, fixtures, appliances, and specialty finishes.
Design Changes
Changes made after construction begins can require additional work and disrupt the schedule.
Permit Issues
Incomplete documentation, required revisions, or inspection problems can delay progress.
Unexpected Site Conditions
Poor soil, rock, drainage problems, or hidden conditions can require additional work.
Contractor Coordination
A construction project involves multiple trades and suppliers.
Delays in one area can affect subsequent work.
How Homeowners Can Help Keep Construction on Schedule
Homeowners have more influence over the schedule than they may realize.
Make Decisions Early
Choose major materials and finishes before they’re needed on site.
Avoid Unnecessary Changes
Every change should be evaluated for its impact on both cost and schedule.
Communicate Quickly
If your contractor needs a decision, responding promptly can prevent unnecessary downtime.
Understand the Schedule
Ask your contractor which decisions are needed next and which materials have the longest lead times.
Work With an Experienced Contractor
A contractor with strong project-management systems can coordinate trades, materials, inspections, and scheduling more effectively.
How Long Does It Really Take?
The most useful answer is not a single number.
Instead, think of your construction timeline as a sequence of stages, each affected by the specifics of your project.
A small, straightforward home on an uncomplicated site may move much faster than a large custom home on a challenging property.
The best way to establish a realistic schedule is to have your contractor review the plans, site, material requirements, permitting requirements, and project scope.
Final Thoughts
Building a house takes time because hundreds of individual tasks need to happen in the correct order.
The foundation must be ready before framing. Mechanical systems need to be coordinated before walls are closed. Finishes need to arrive before they can be installed.
A realistic schedule recognizes these dependencies rather than promising an overly aggressive completion date.
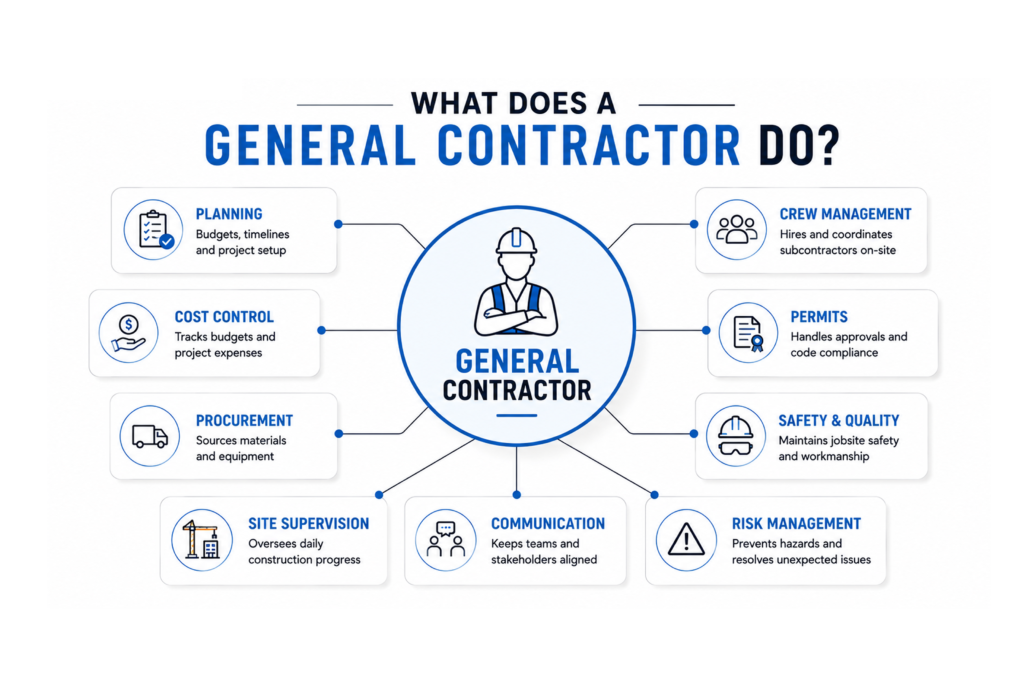
If you’re planning a new home, an experienced general contractor can help turn your plans into a practical construction schedule and keep the project moving from the first site preparation through final completion.
Planning a new home? Contact our construction team to discuss your project, estimated timeline, and next steps.